...
- Go to Website > Pages
- Click the New Page button
- Enter the title for your page in the title field
- In the Drag-And-Drop Editor, click the Add Element button
- Select the Feature Rotator widget from the grid selection window

- In the pop-up window set up the feature rotator settings:
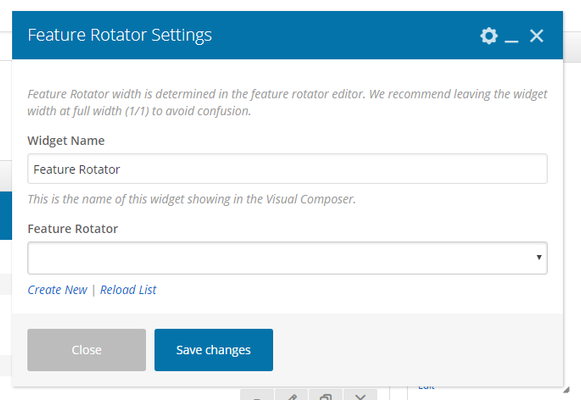
- Feature Rotator width is determined in the feature rotator editor. We recommend leaving the widget width at full width (1/1) to avoid confusion.
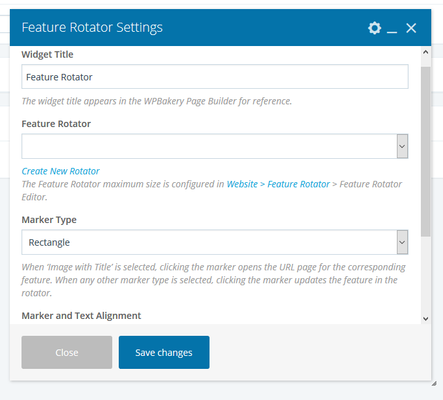
- Widget Name:This is the name of the widget showing in the Drag-And-Drop Editor. It will not be displayed on the website.
- Feature Rotator: Select the feature rotator you want to display on this page
- Marker Type: Select a 'marker type' to appear underneath the rotator. When ‘Image with Title’ is selected, clicking the marker opens the URL page for the corresponding feature. When any other marker type is selected, clicking the marker updates the feature in the rotator.
- Marker And text Alignment: Choose the alignment for your marker and text. Choose from Left, Center, Right.
- Click the Save button to save the settings for this widget
- Fill out the rest of the page's required fields, then either click Save Draft to publish at a later date or time, or Publish to publish it immediately
Related articles
...