Member Experience: Editing A Listing
Below are instructions on how to create and edit submitted local listings
Step-By-Step Guide (General)
- Login to your member account (by clicking on the member icon) on the website.
- Once logged in, click on 'Settings'
- Once in settings, scroll down to the bottom of the page to 'Manage Listings'
- Here you can add a new listing, manage your listings, go to favorites, or to classifieds payment history

Step-By-Step Guide (Creating A Storm Closures Listing)
How to create a storm closure listing (i.e. adding a school or business):
- Login with the membership login tool
- Go to 'Manage Listings'
- Click 'Add New Listings'
- Choose the correct listing category for where you want the listing to appear (i.e Storm Closures)
- Fill in the rest of the listing details
- Once submitted, you should see your listing.
- You'll get an email letting you know your listing has been submitted, and an email for when it's been approved.
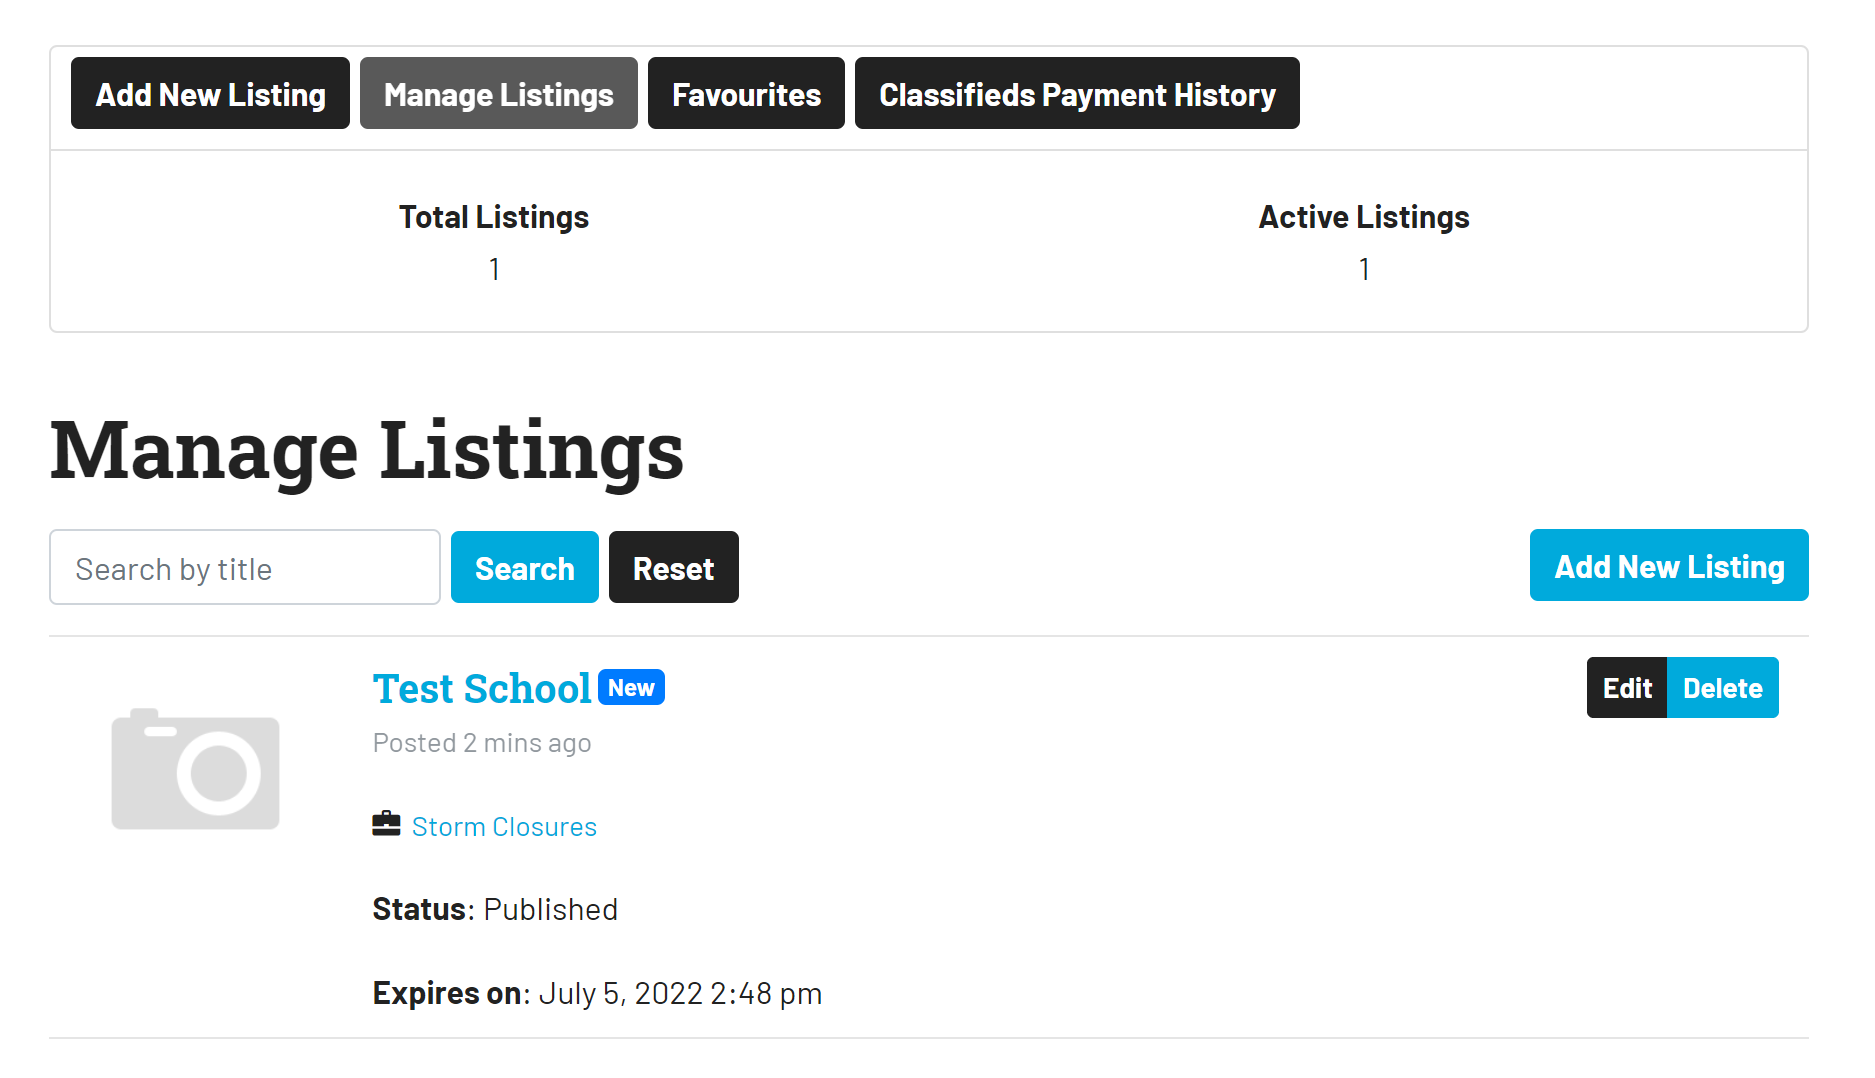
Step-By-Step Guide (Editing A Storm Closures Listing)
- Login with the membership login tool
- Go to 'Manage Listings'
- Click 'Edit' beside the listing
- Edit the listing details
- Click 'save' changes'
Related articles