How Do I Add Media Files To The Media Library?
This Article Is For:
- Users with Media Library permissions
- This is applicable to: All Themes
Note
- Maximum upload file size is 100MB
- Maximum image dimensions are 2560px by 2560px.
These instructions are for adding media files to your media library
Step-by-step guide
- Go to "Media" In the left panel of the CMS
- Click the "Add New" button
- "Select Files" to upload a file from your computer. Maximum upload file size is 100MB or you can upload documents such as PDF, Doc, or PPT to generate a link for your user to click on/view. You can upload images that are JPEG or PNG, Videos (MP4) or Audio (MP3).
- Click "Edit" To fill in your media's details.
- Title: Add a title for your media
- Alternative Text: Alt text for the image, e.g. “The Mona Lisa”
- Caption: Write a caption for the media you uploaded
- Description: Add a description for your photo
- File URL: Enter a link URL or click “None”, “File URL”, or “Attachment post URL” for presets
- Media Categories: Here you can choose from a pre-existing media category or create a new one
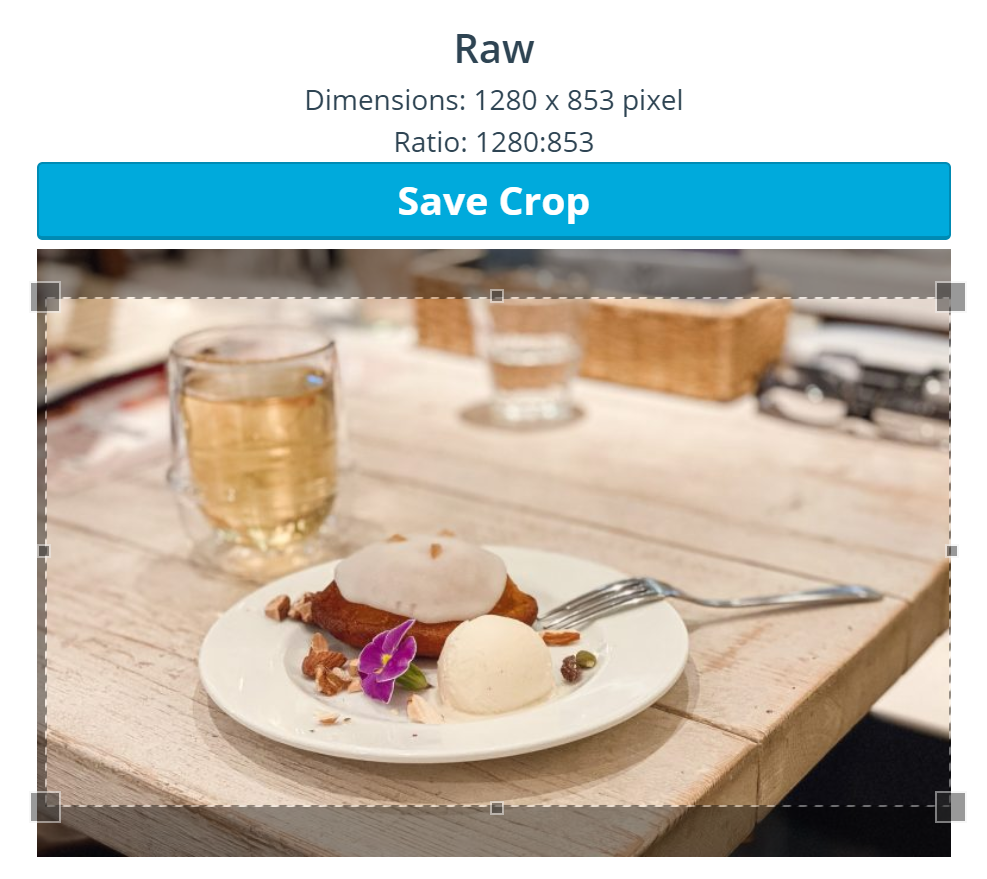
- Crop Featured Image:
- Click on the image you wish to crop.
- Change the selection of the image, by dragging and dropping the crop tool
- When happy with your selection, click on "Save Crop".
- Click the (X) to leave the crop section
- Click "Update" on the media page.