List Layouts
Below are two separate steps needed to create your new custom blog grid(s). Each step creates a unique grid, these grids can be used together on the same page, or each grid can be used on it’s own. Below are separate attachments with the two files needed, if you need these emailed to you, please speak with your account manager.
Notes:
- These blog list layouts were created and meant to be displayed at full page width 1/1. If you reduce them in size using the blog/list element (i.e half page width) they will not display the image crops as intended, and may display a grey area or 'space' underneath.
Step-by-step guide- Layout #1
The first file creates a rectangular main or “hero” image. (See below for an example)
- Go to: Settings>Blogs & News>List
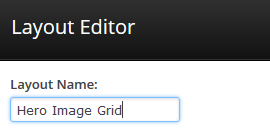
- Click on: Add Layout
- Add layout name: (ex. “Hero Image Grid”)
List Header HTML:
- Add “List Header HTML” (attached below). We suggest adding it to a Wordpad like application first to strip it of any formatting, and then copying and pasting it under the “List Header HTML” section.

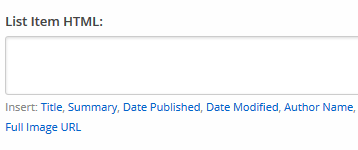
List Item HTML:
Add “List Item HTML” (attached below). We suggest adding it to a Wordpad like application first to strip it of any formatting, and then copying and pasting it under the “List Item HTML” section.
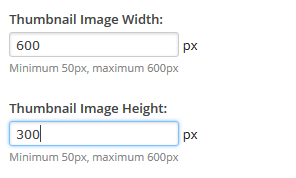
Thumbnail Image Sizes:
Change “Thumbnail Image Width” to: 600
Change “Thumbnail Image Height” to: 300
Click “Save”
Example Of How It Will Look On Your Site:

Step-by-step guide-Layout #2
The second file creates a system of smaller square images. (See below for an example)
- Go to: Settings>Website Settings>Blogs & News>List Layout
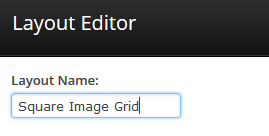
- Click on: Add Layout
- Add layout name: Ex. “Square Image Grid”
List Header HTML:
- Add “List Header HTML” (attached below). We suggest adding it to a Wordpad like application first to strip it of any formatting, and then copying and pasting it under the “List Header HTML” section.
List Item HTML:
- Add “List Item HTML” (attached below). We suggest adding it to a Wordpad like application first to strip it of any formatting, and then copying and pasting it under the “List Item HTML” section.
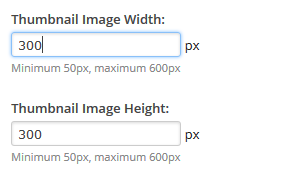
Thumbnail Image Sizes:
- Change “Thumbnail Image Width” to: 300
- Change “Thumbnail Image Height” to: 300
- Click “Save”
Example Of How It Will Look On Your Site:

Blog Grid Layout #1 & Layout #2
Related articles